Step-by-step guide:
Open the box and lay out the contents carefully to ensure nothing is missing or damaged.
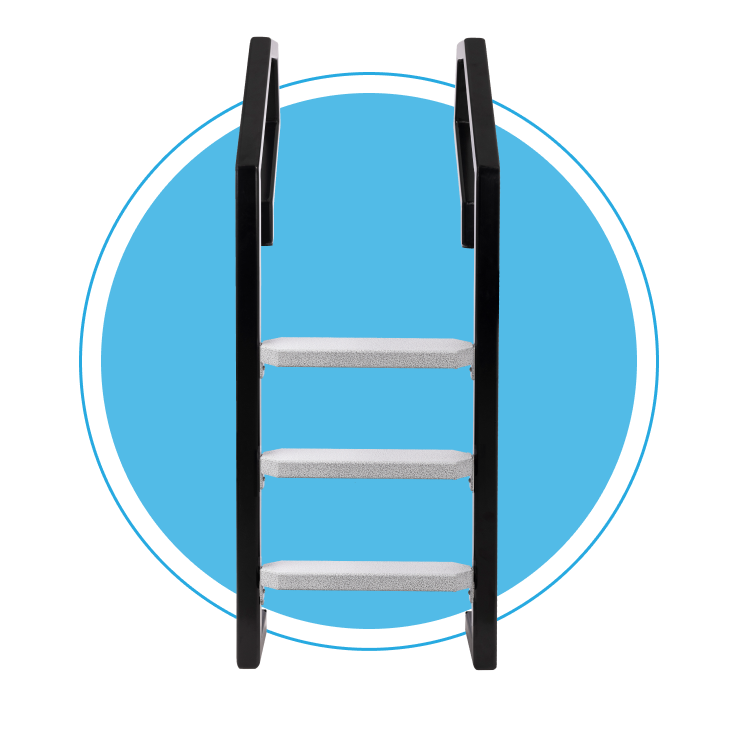
Identify the left and right arms of the ladder. Place them adjacent to each other on the floor in the desired location next to your pool.
Choose which side you want to attach the step treads to (either the right or left side).
Take one of the step treads and place it face up on the chosen side. If you have a branded step with a logo or family name, set it aside for the top step. Before installing the screws, make sure to insert the stainless steel plates provided.
Using the hardware provided, fasten one side of the step tread securely to the arm. Use a screwdriver or wrench, if necessary, to tighten the screws.
Repeat step 4 and step 5 for each remaining step tread, ensuring that each one is securely attached to the chosen side of the ladder.
Once you have installed all the steps on one side, take the second arm and align it with the step treads. Make sure the arm is positioned correctly and attach it to the treads using the same method as before.
Double-check that all screws are tightened and the ladder is stable and secure.
Slide the echelons up the left and right arms of the ladder. These can provide additional grip and safety.
Install your new Just Pools Ladder in the same manner as your previous pool ladder. Follow the instructions provided by the manufacturer or refer to the guidelines specific to your pool type.
Once your ladder is installed, take a photo and tag Just Pools Ladder on social media to share your new ladder with others.
You have successfully assembled and installed your Just Pools Ladder. Enjoy using it safely to access your pool!